
There are probably not many reasons why anyone would actually set out to make a replica of a Viking sword – but if you decided you had reason enough, it’s doable! Here then, is the result of my effort – and an explanation of why I would want one!
I made this item in 2017 because a) I’ve loved Norse culture for many years – mainly because some of my lineage is Norse, and b) when Kay and I decided to get married, we decided on a Viking themed wedding. One can hardly have a Viking themed wedding without at least one good sword around, can one? 
Being pressed for time, I decided to cheat – so rather than learning a lifetime of forging skills in just over 13 months, I decided to employ the skills I already had. I selected a piece of spring-steel, which is already hard and flexible, and basically just needed to be shaped.
I started by researching the recorded Viking swords and their lengths, handles etc., and then set about marking the outline of the tip and handle on the steel I had with a marker pen. It was while I was working out the length of the blade and handle that I realized the piece I had was a bit short – a bit too short to make a really impressive blade that was more than a letter-opener… and I hadn’t any longer pieces! Oops! What now?
I decided to patch in a section on the handle end, which would make the blade longer – but would the necessary weld be resilient enough to hold? There being only one way to find out, I cut a notch deep into the root of the blade, shaped the leading edge of the handle, and fitted the two together. Quite a lot of arc-welding went into fusing the two pieces together – and in truth, it was partway forging, because the join was white hot, and so I’d hammer the joint flat, then reweld, and hammer again, until I had a strong, low profile joint I still feel proud of today!
When it came to fitting out the handle, I cut two round lengths of steel, shaped them to the same curved profile to make the guard, and welded them onto the hilt. I then welded all the gaps closed, making a solid single piece out of them, and smoothed them off with a bench grinder. The pommel is more than just “a knob on the end” of a sword – its main purpose is to counter-balance the weight of the blade in the wielder’s hand. I had a few solid bits of steel lying around, and decided to make them into a pommel by welding one on either side of the back end of the handle. I then welded the gaps closed between them and ground the whole thing off evenly.
I could’ve used wood to make side plates for the handle, but decided to wind thick gauge steel wire around it instead. This gives it a more business-like feel which isn’t rough on the hands at all.
Once this was done, I started shaping the blade using an angle grinder, and then sharpening it with a bench grinder and sander.
To keep it shiny and rust free, I sprayed the whole thing with clear lacquer spray.
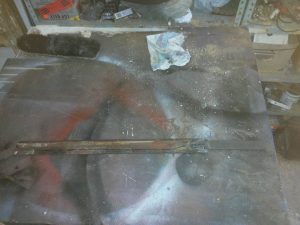
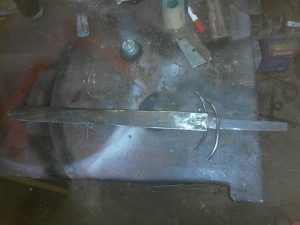
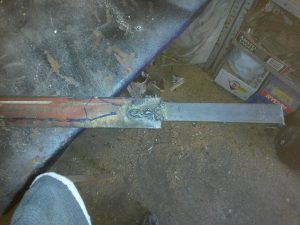
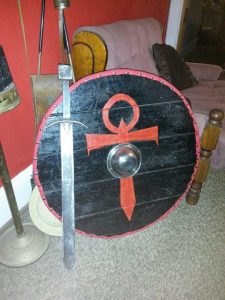
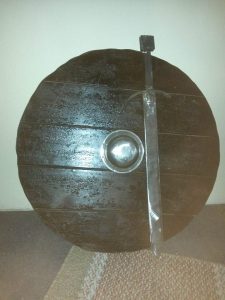
Once I’d done all that, I still had to make a scabbard for it. I opted to use wood for this purpose, and chose two thin planks from a wooden pallet. I traced the outline of the blade on both inner sides of the future scabbard, leaving about 5mm around each side to give plenty room for the blade inside. I removed excess material with a hammer and chisel, and finished it off with a Dremel and mouse sander. This part was a bit finicky because I found when I had the two halves closed and inserted the blade, in places it met resistance and stuck, so I worked it out until the blade went in and out smoothly. This done, I glued the two halves together, and then strengthened it with short thin nails.
With the inside of the scabbard complete, it was time to do the outside – and there I pulled out the stops! It took some work with a belt sander to taper and round the scabbard nicely, and then I added a steel end cap, and a steel brace around the neck of the scabbard, all secured with small nails. Then I went to work with the Dremel, carving out the design I’d drawn on with a pencil, until I was satisfied with the relief on the outside of the scabbard. The relief was painted with red acrylic, and then the whole thing was sprayed with clear lacquer.
This left only the matter of the belt and straps necessary for me to wear this sword on the big day! Two cheap black fake leather belts with cool buckles bought at a Foschini’s went into making the belt and strap you see in the photos (hey, I did say I was pressed for time!) and the whole thing went down a treat at our wedding in 2018!
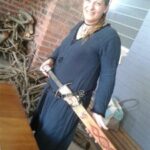
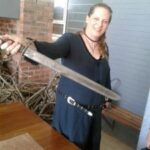

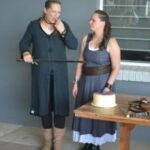
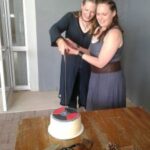
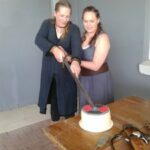
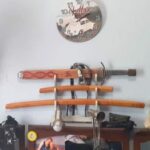
Bearing in mind that I didn’t actually intend to use this for anything other than a costume or display piece (it now hangs on a wall in the our bedroom) I still ended up making a very useable item – in fact, one day not too long ago when I had to cut down a giant yucca in the side garden to make way for the greenhouse, it came in very handy indeed. My long axe handle had broken, so naturally, wishing to avoid delays, I went to plan B! I grabbed the sword and swung away at the yucca. It was surprisingly strong and sharp, and to sum up, the yucca is history!
So there you have it – a beautiful functional display piece for your parlor – or bedroom!
That’s all for this time – photos included – enjoy!
Have a DIY week!
Cheers!


All material copyright © Christina Engela, 2021.